How to Schedule Instagram Reels (App, Desktop and Scheduler)
Schedule Instagram Reels in the Instagram app, in Meta Business Suite on desktop, or with a scheduler. Step-by-step, plus covers, audio and the limits to know.
Reels are the format most creators want to post every day, and the one that is hardest to post on time. Here are three ways to schedule them, from the free built-in option to a full calendar on desktop.
Key takeaways
- You need a professional account (Creator or Business) to schedule Reels.
- In the app: make the Reel, tap More options, then Schedule this post.
- On desktop: Meta Business Suite → Create Reel → Schedule.
- Schedulers can not add Instagram library music: bake the audio into the video.
Before you start
- Switch to a professional account in Settings if you have not already. It is free.
- Export the video in 9:16 at 1080 x 1920 so nothing gets cropped.
- Have the caption and up to five hashtags ready. Instagram now caps hashtags at five per post.
- Pick a cover frame or make a cover image. It stays on your grid.
Method 1: Schedule a Reel in the Instagram app
- Tap + and choose Reel.
- Select or record your clips, add audio, text and effects, then tap Next.
- Write the caption, add a cover and tags.
- Tap More options (in some versions Advanced settings) and turn on Schedule this post.
- Pick the date and time, tap Done, then tap Schedule.
To check or change it later, go to your profile, open the menu and tap Scheduled content.
Method 2: Schedule a Reel on desktop with Meta Business Suite
- Open Meta Business Suite and go to Content.
- Click Create Reel and pick your Instagram account.
- Upload the video, write the caption and choose the cover.
- Click the arrow next to Share and choose Schedule.
- Pick the date and time and confirm.
Method 3: Schedule Reels with postreadygo
A scheduler makes sense when the same Reel also goes to TikTok and YouTube Shorts, or when you plan a whole week at once.
- Create a free account and connect Instagram, TikTok and YouTube.
- Click New post → Video post and upload the Reel.
- Select your Instagram account (and the others), write the caption.
- Turn on When to post, pick a time, click Schedule, or add it to your queue.
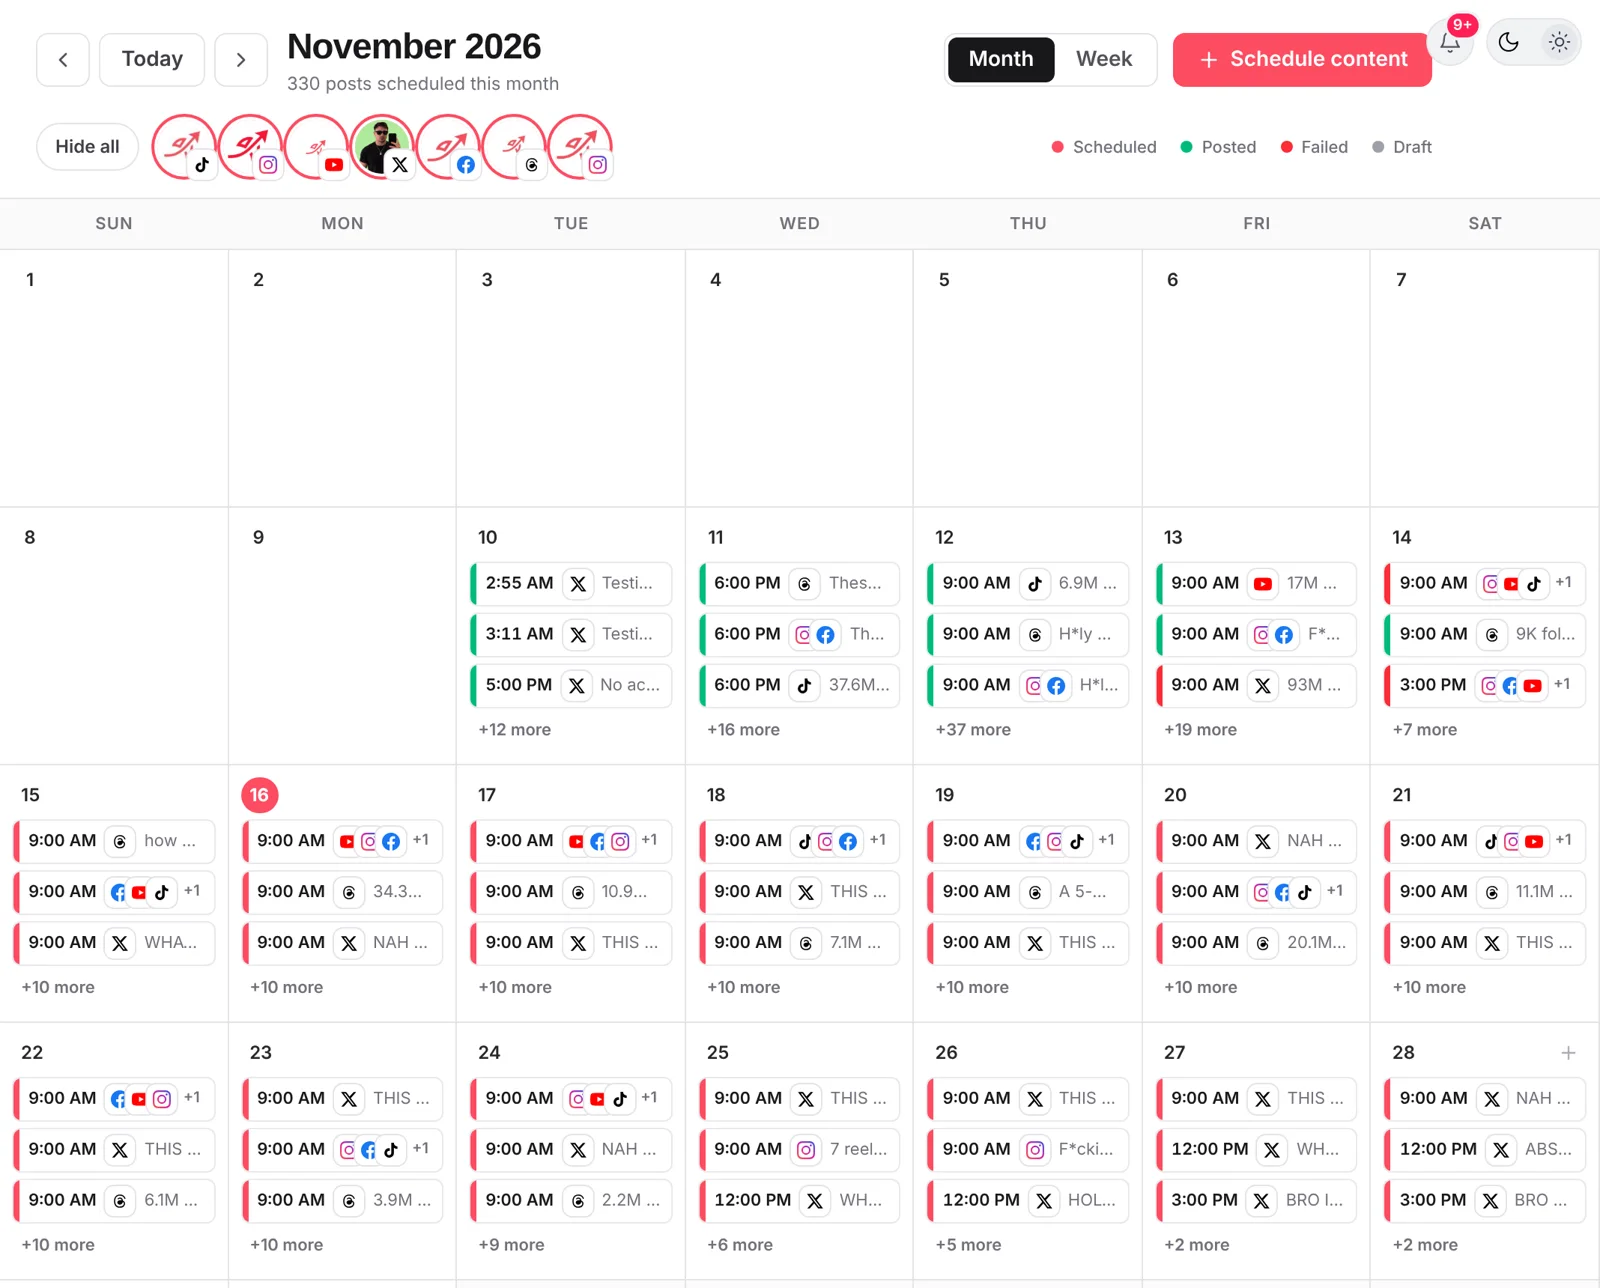
You can also ask Claude to do it: "Schedule these five Reels to Instagram, one a day at 6 pm." See how the Claude connector works.
Pre-schedule checklist for Reels
- Hook in the first two seconds: a clear promise or a surprising image.
- Text inside the safe area: keep words away from the bottom and right edge, where buttons sit.
- Audio you can use: original sound or licensed music, mixed into the file if you use a scheduler.
- Under 90 seconds for most Reels; never over 3 minutes if you want new viewers.
- Caption with a reason to comment: a question or a choice.
Frequently asked questions
Can you schedule Reels on Instagram?
Yes. Professional accounts can schedule Reels in the Instagram app, in Meta Business Suite, and with schedulers that use Instagram’s official API.
Can I add trending music to a scheduled Reel?
In the Instagram app, yes, because you edit the Reel there. Schedulers usually can not add songs from Instagram’s library, so put audio you have the rights to into the video before you export it.
Can I change a scheduled Reel?
In the app you can edit the caption and time under Scheduled content. To change the video itself, delete the scheduled Reel and schedule it again.
How long can a scheduled Reel be?
Reels can now be much longer than they used to be, but Instagram says Reels over 3 minutes will not be recommended to new audiences. For reach, keep most Reels under 90 seconds.
Want to plan a week of Reels without opening Instagram every day? Start free with postreadygo and schedule Instagram, TikTok and YouTube from one calendar.
More Instagram guides
- How to Schedule Instagram Posts in 2026: App, Desktop, Reels and Stories
- Best Time to Post on Instagram in 2026 (and How to Find Yours)
- Instagram Reels Length and Size Guide (2026 Specs)
- How Many Hashtags Should You Use on Instagram in 2026?